- Week 1: Intern's Greetings!
- Week 2: Refining the MVP
- Week 3: Diving Into Shaders
- Week 4: From 2D to 3D
- Week 5: Back to Inspiration Images
- Week 6: Blended Approach
- Week 7: Restructuring the Project
- Week 8: Drawing Board
- Week 9: Arranging Furniture
This week meant a lot of progress for the project. To keep this post compact, I will focus on two things that gave me direction: richer use of materials and introduction of classes.
Firstly, as we have dived into a lot of shader programming recently, writing custom shaders has felt like the default option for creating the surfaces of the room. However, by looking at some examples, it became clear that interesting, lively surfaces don’t necessarily need a custom shader, but can also rely on creative uses of the built-in ones.
One example we studied with Nikolai was this fun project by Stink Studios. It renders a wild selection of patterns and materials on a simple, hand-shaped mesh. We were especially inspired by the way they use environment maps for reflections. If one dives into the source code in developer mode, one finds a large bunch of images that are never visible per se, but rather used to create interesting reflections on the object.
So, for example, one can create a sphere or statue with MeshStandardMaterial and define its metalness and roughness. Like a real metallic object, the mesh now reflects the light sources in the room. However, maybe we want the statue to reflect some interesting colors and patterns. Or maybe we want it to reflect a room or building, sparking the viewer's imagination by hinting at something that exists outside the viewport.
For this kind of results, Three.js uses environment maps. In this example, the pleasant reflections are partly created with images of the Swedish Royal Palace, even if there is nothing castle-like visible in the scene.
To create a pink shape that uses the six castle images for reflections, one can create a reflectionCube and do the following:
const path = "/static/images/";
const format = ".jpeg";
const urls = [
  path + "px" + format,
  path + "nx" + format,
  path + "py" + format,
  path + "ny" + format,
  path + "pz" + format,
  path + "nz" + format
];

const reflectionCube = new THREE.CubeTextureLoader().load(urls);
reflectionCube.encoding = THREE.sRGBEncoding;
const exampleMaterial = new THREE.MeshStandardMaterial({
  color: 0xff80ce,
  emissive: 0x842bd7,
  metalness: 0.0,
  roughness: 0.01,
  envMap: reflectionCube,
  envMapIntensity: 1.0
});
Creating Plants with Classes
We also started to make the project code more manageable by introducing classes. Again, classes are familiar to me via Processing and openFrameworks, so that made the topic easier to approach. One resource I’m going to study further is by W3Schools. I usually find their tutorials very clear and pleasant to follow.
In object-oriented programming, classes increase scalability and modularity. The benefits of using classes are very clear in this sort of an open-ended, experimental project. Instead of having 100 lines of code in my index.js that just generates a certain kind of a plant, I have plants.js file containing a few plant classes. Then in the main code I’m free to choose between a rose and a cactus easily, just with a few lines of code.
let plant = new ExperimentPlant();
plant.mesh.position.x = -20;
plant.mesh.position.y = 0;
plant.mesh.position.z = 20;
scene.add(plant.mesh);
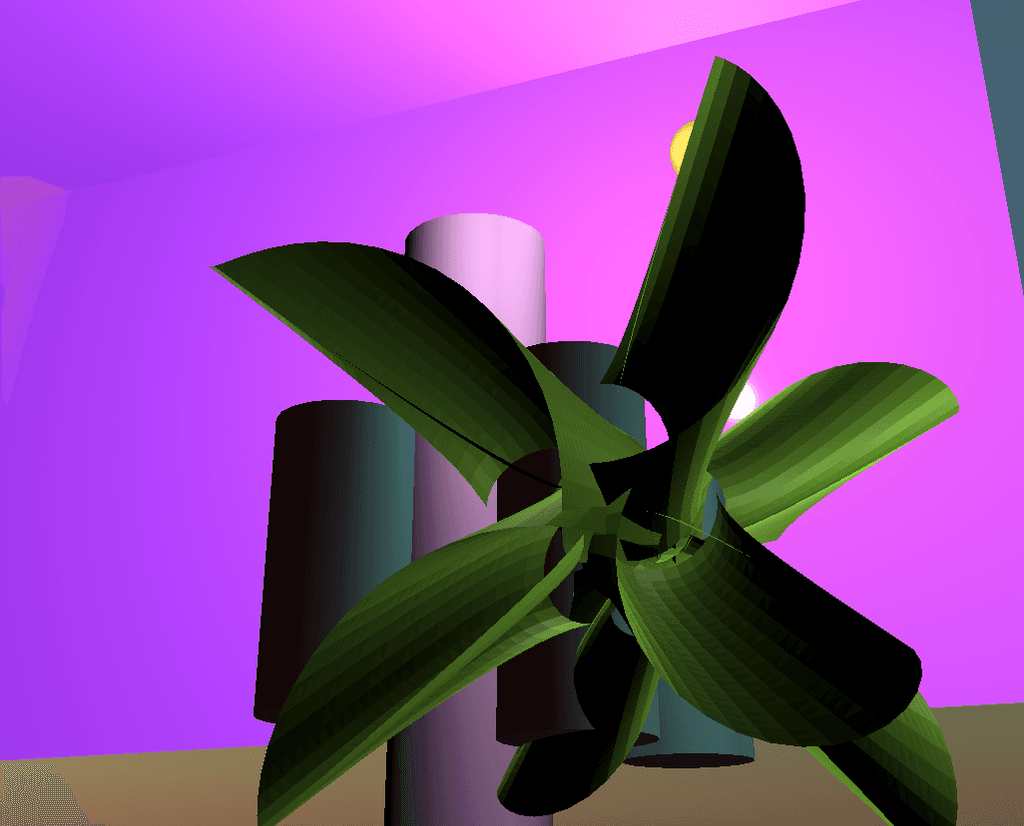
Speaking of plants, I created a happy accident when exploring geometry distortions with morphtargets . I was able to distort a box in a way that created a plant-like shape:
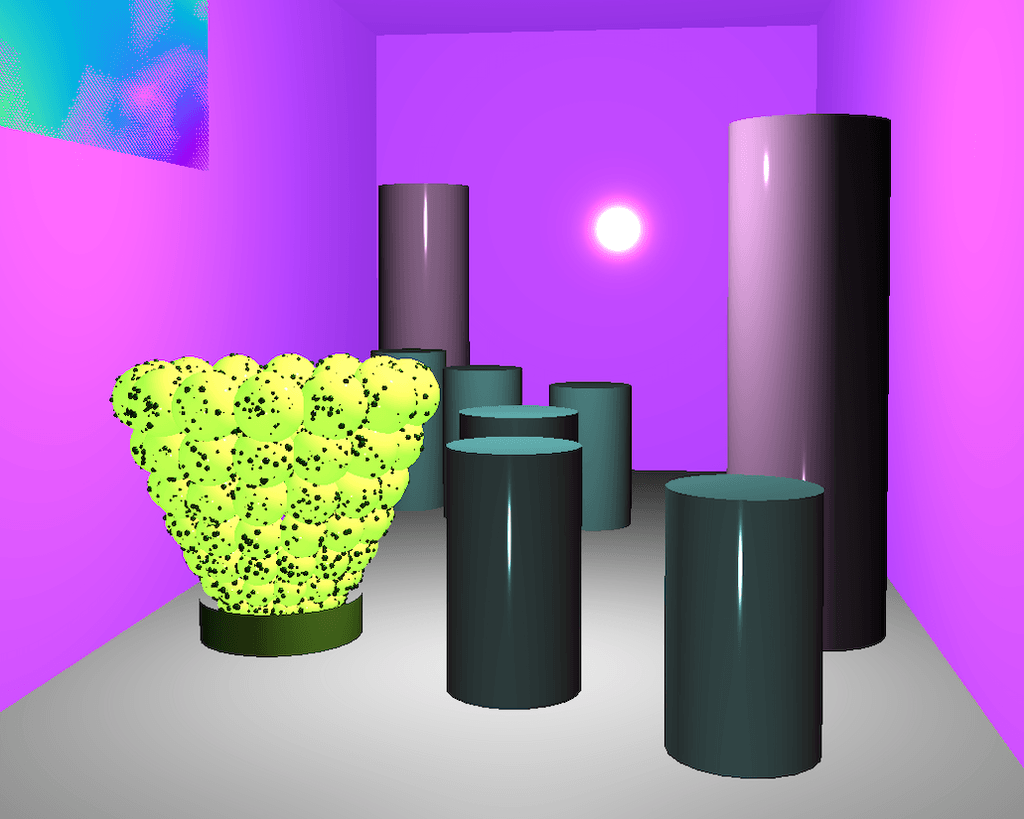
With help from Nikolai, I had already experimented creating plant-like shapes with spheres and for loops:
We created a similar class-based approach to floors as well. In the main code, a floor with circle pattern can now be called just with:
const floorMat = new FloorMaterial({ type: "circles", aspect: 2, scale: 1 });
Next, I will sketch a few example rooms and plan how their elements are connected. Then, within these main room types, there is variation. For example, maybe a pink wall and blue tile floor always go hand in hand, but NLP data affects how detailed the tile pattern is.